Users permissions
Note
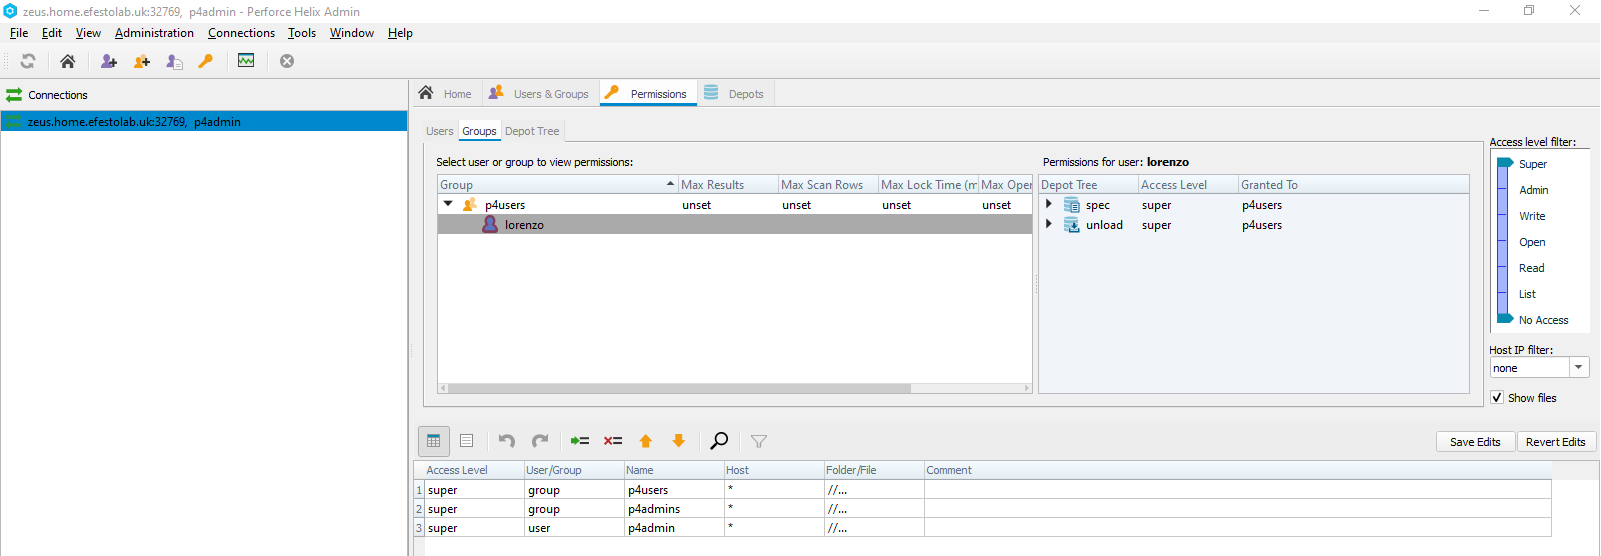
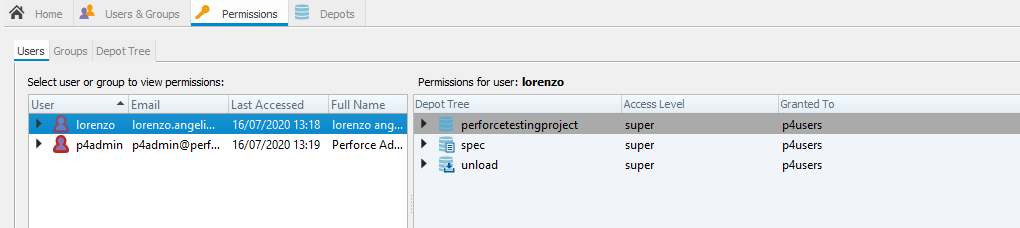
This is has to be performed by a perforce user with `Admin rights <https://www.perforce.com/manuals/v15.1/p4sag/chapter.protections.html>`_.
- In p4admin : Create users with name as the same login name as ftrack
- In p4admin : Ensure users are part of the p4users group as Members and Owners
Workspace and local folder
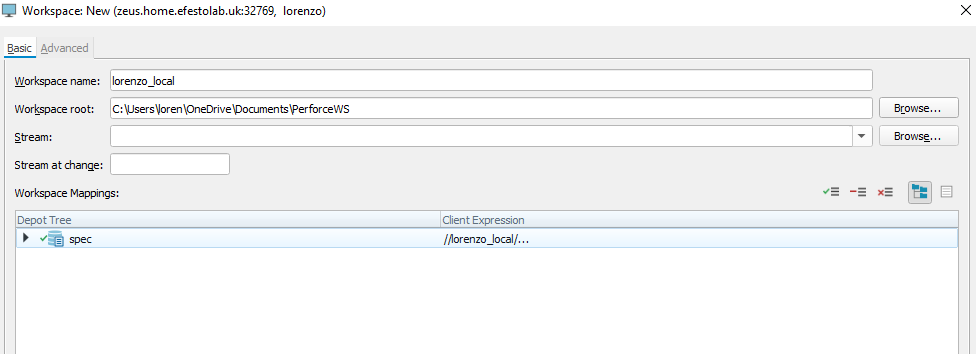
Local folder
Create a workspace folder on your local disk as a location to save and store files
For example:
C:\Users\loren\OneDrive\Documents\PerforceWS

Integration
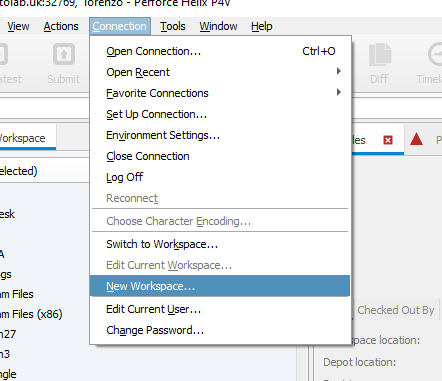
Setup user workspace and credentials
- Download or build the latest integration.
- Install the integration as ftrack plugin
- Start connect.
If the plugin is properly installed you should see the Configure Perforce User action.
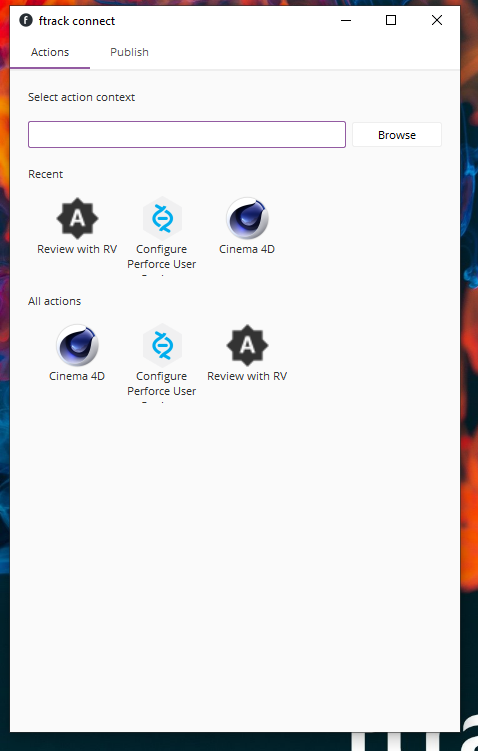
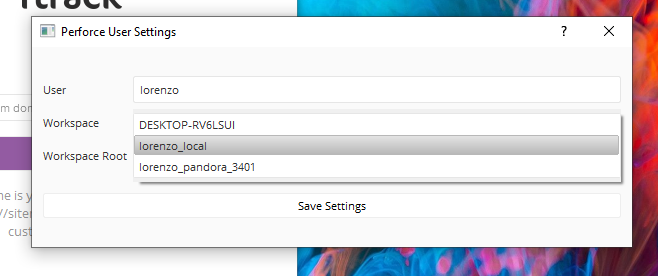
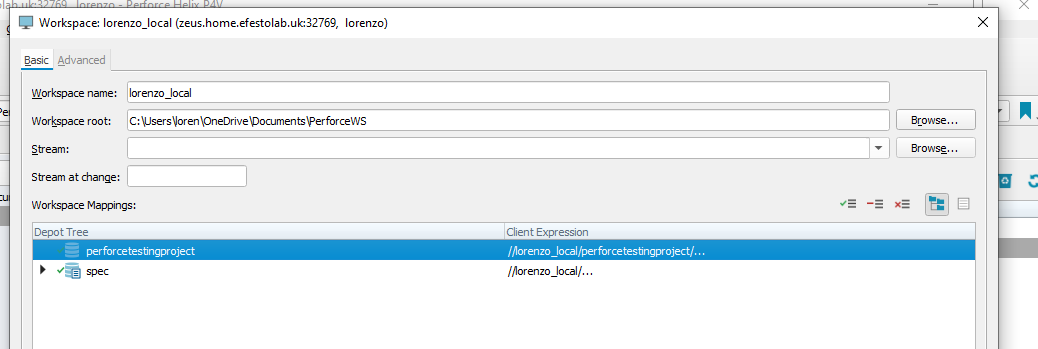
Launch the Configure Perforce User Action from ftrack Connect. Select the workspace you wish to use and click ‘save settings’.
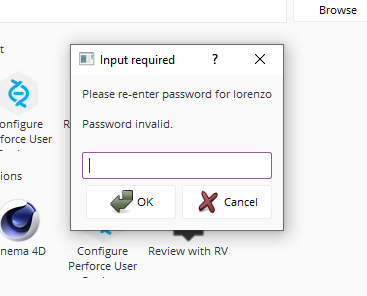
Note
A login window will display and ask for a username and password, if you have not logged into Perforce for a while.
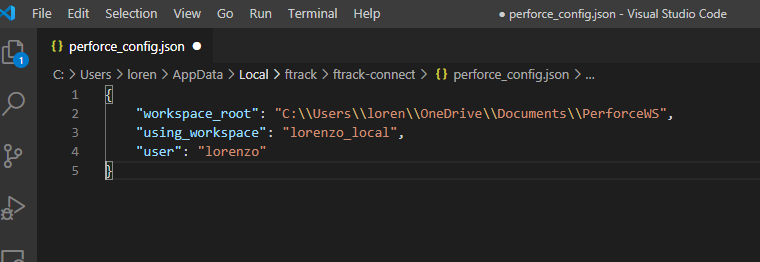
Your ‘Workspace Root’ should match that of the folder created and set up during the Perforce user configuration. (See: Set up user workspace.)
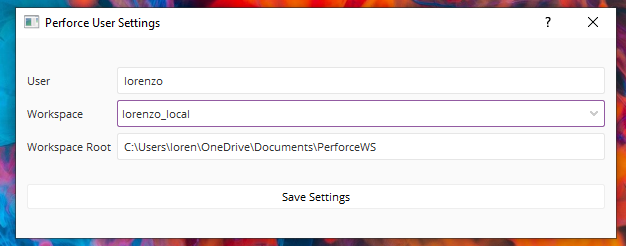
This will write a configuration file into the ftrack-connect data folder, which will contain your chosen settings:
You can now restart ftrack connect.
Project Configuration
Note
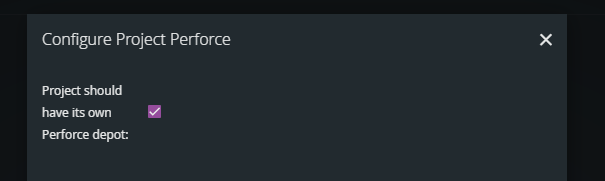
The user must be assigned super Access Level in Perforce and be granted permissions to add custom attributes on the ftrack server, otherwise this Action will not appear and run.
Run ftrack Actions and select Configure Project Perforce on the created project.

Set the per project depot attribute and click Submit
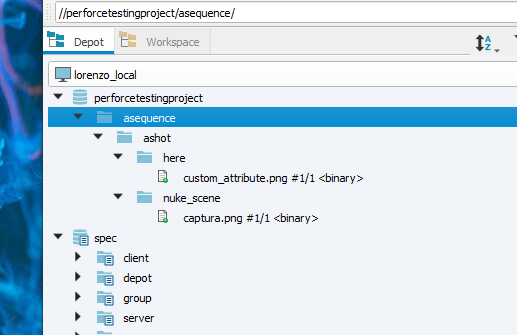
To confirm all is in place run p4v and check the view to the current project has been correctly added
You can now restart connect.
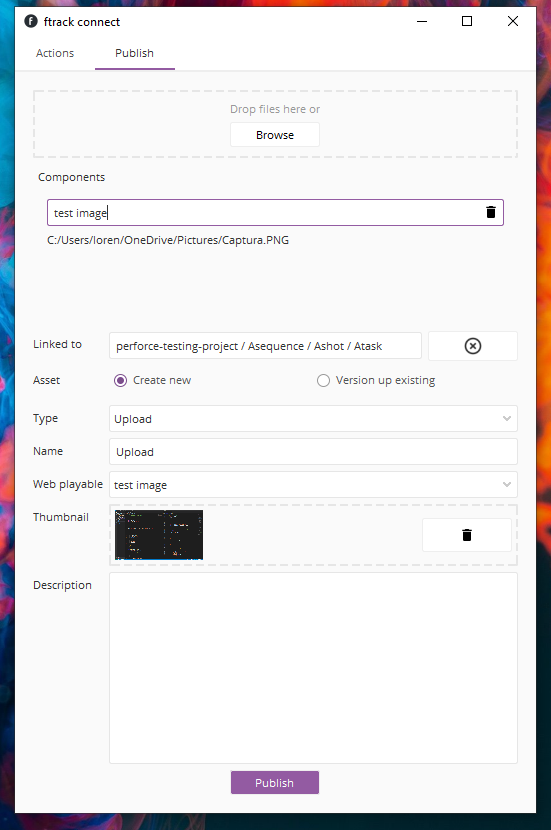
Publishing
You should now be able to publish to perforce using connect as usual using connect or any other ftrack integration.
This will result in ftrack Connect reporting a successful publish:
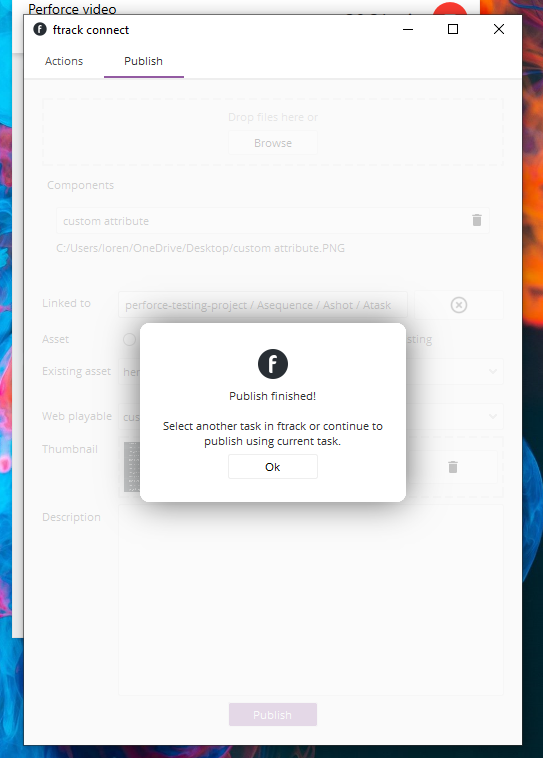
The component will be added to the server’s ftrack.perforce-scenario location.

Running p4v should show the files in the depot.